1、Hexo搭建博客
1、Hexo 初始化
在本地新建一个文件夹,并在该目录下执行hexo init命令,使用Hexo的初始框架。
2、博客配置
接下来可以根据自己的兴趣喜好来配置自己的博客。
可以使用hexo n "title"来新建一个页面。
3、本地测试
在博客的根目录下执行命令,让其在本地运行。
1 | # 清理缓存 |
2、在 GitHub 上发布
1、创建仓库
仓库名称随意(网上的教程仓库名称都是用户名+github.io。随意名称的话,最后发布的时候改一下发布的仓库就可以了。)
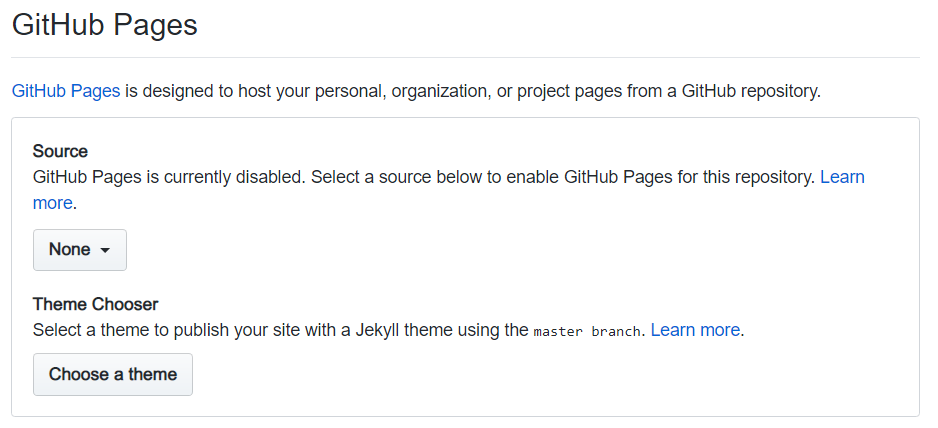
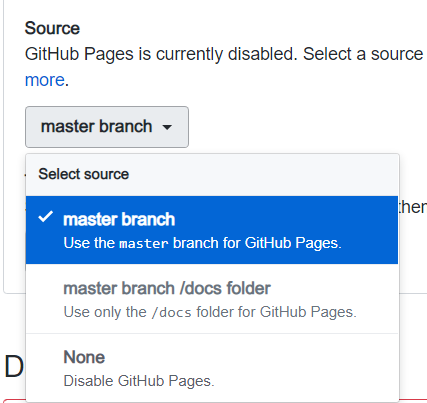
在仓库的设置中设置 GitHub Pages。
2、在本地配置GitHub信息
在命令行中执行git config --global user.email "Your Email"和git config --global user.name "Your Name"。Your Email和Your Name换成你的用户名和邮箱。
3、添加SSH
在命令行中执行ssh-keygen -t rsa -C "youremail@example.com"生成 SSH 。
找到生成的 id_rsa.pub文件,通常是在C:\Users\"Your UserName"\.ssh目录下。
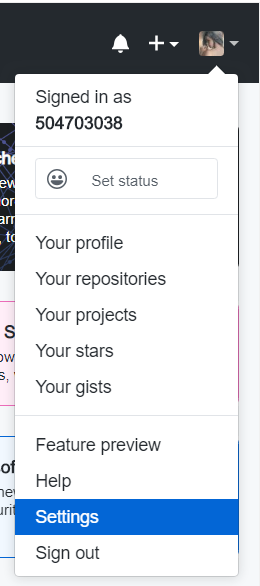
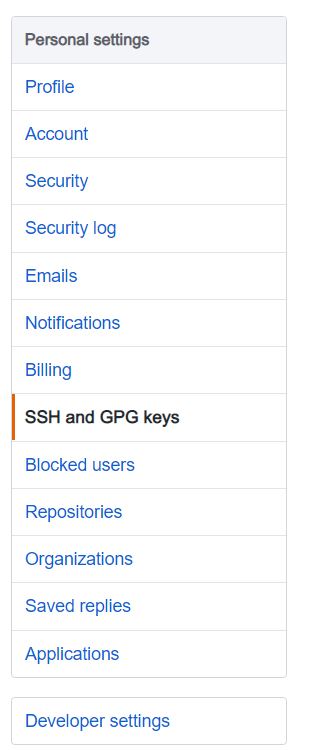
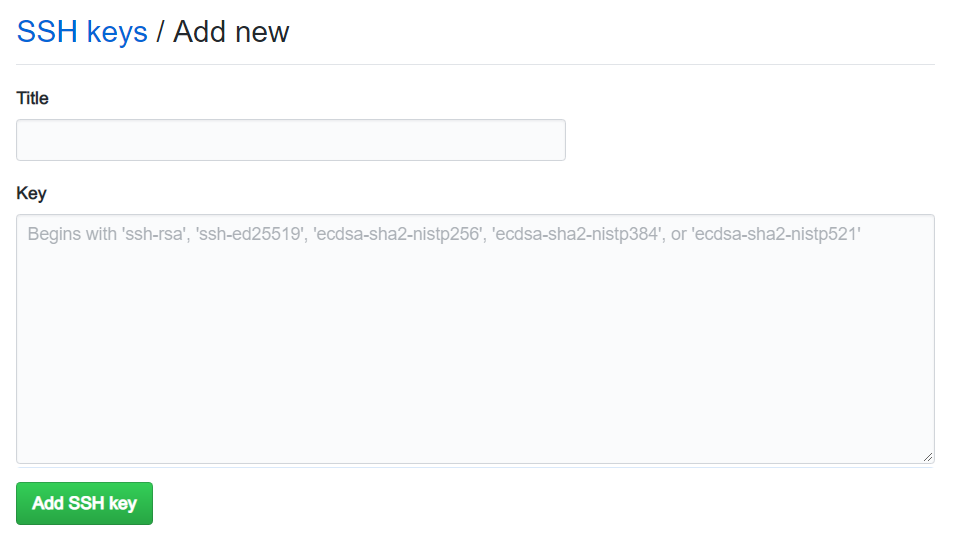
然后在GitHub中的个人设置中添加SSH,将 id_rsa.pub文件的内容复制进去。
4、修改博客的发布地址
修改博客根目录下的_config.yml文件
1 | # URL |
5、发布
在博客的根目录下执行命令发布到 GitHub
1 | # 清理缓存 |
在发布过程中遇到个小错误。。。。

执行npm install --save hexo-deployer-git来解决问题。
3、Hexo双线部署
同时部署到 GitHub Page 和 Gitee Pages 。除了Gitee Pages还可以部署到Coding Pages,在部署到Coding Pages时宕机了好几次所以用了Gitee Pages。
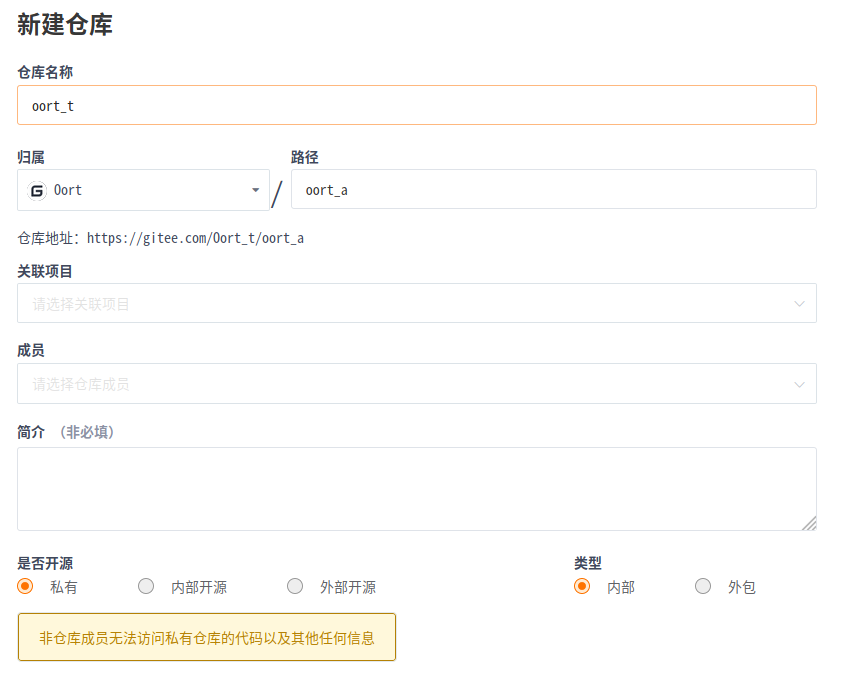
1、创建仓库
新建仓库,仓库名称与你的用户名相同,就像GitHub Pages那样。
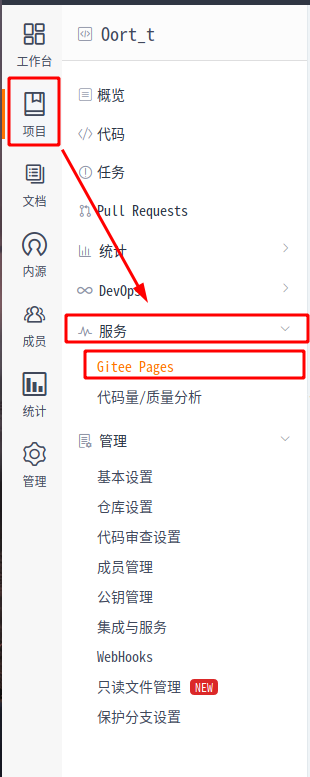
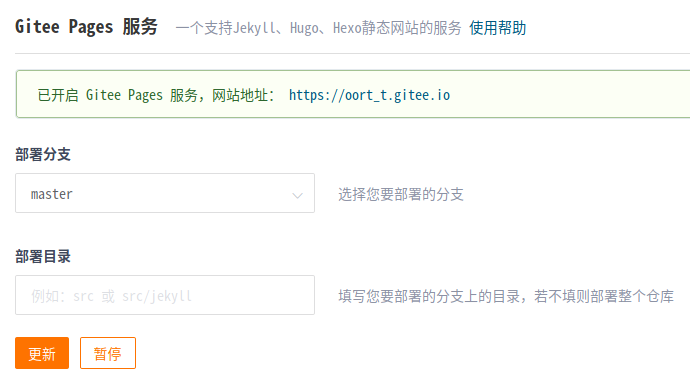
2、开启Gitee Pages服务
进入仓库开启Gitee Pages服务
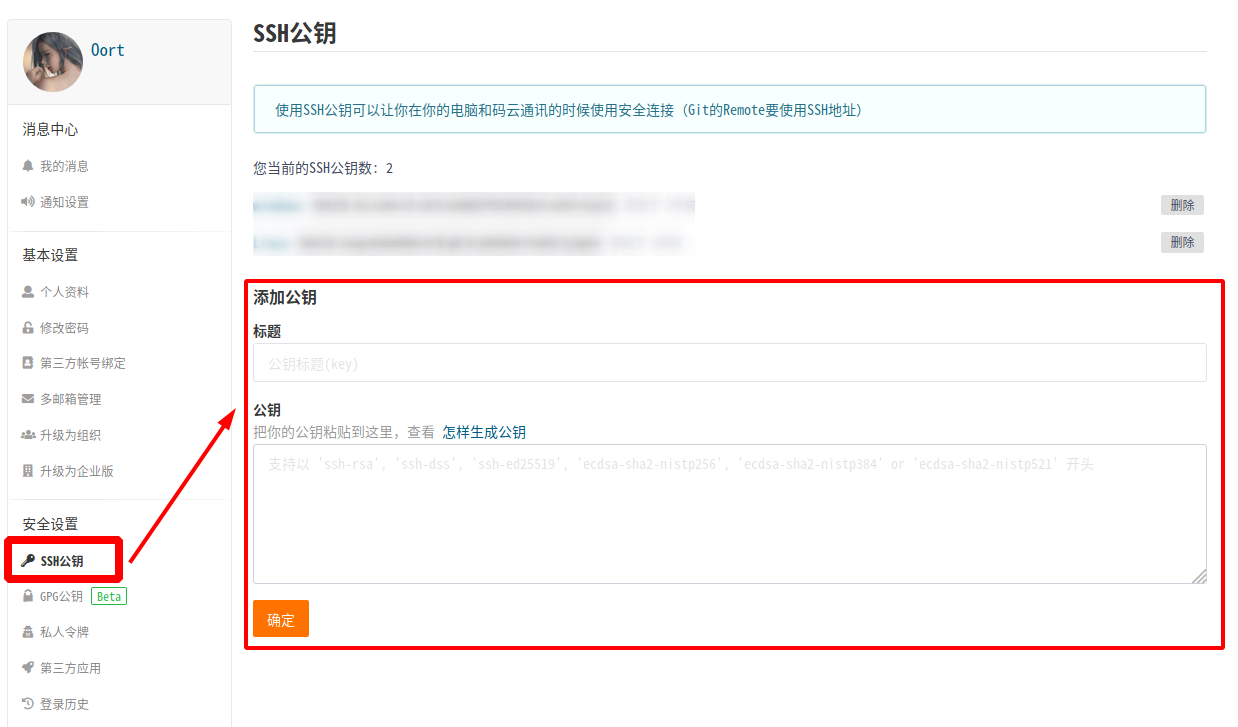
3、添加SSH
进入Gitee的个人设置,添加SSH,与Github使用相同的SSH就可以。
5、修改Hexo配置文件
修改_config.yml文件
1 | # Deployment |
4、在百度收录网站
在百度收录网站,使得网站能够在百度搜得到。因为GitHub禁止了百度爬虫,所以要实现双线部署,让百度爬虫从Gitee收录。
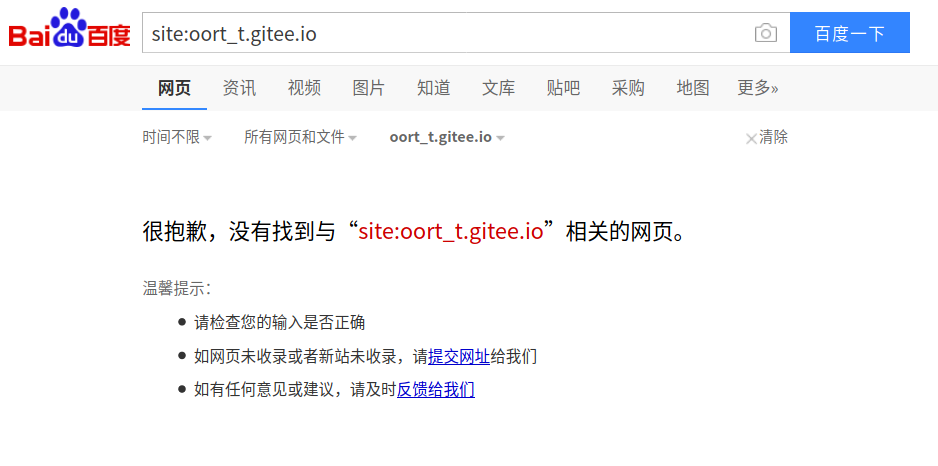
0、查看网站是否被收录
输入 site:域名 来查看域名是否被搜索引擎收录
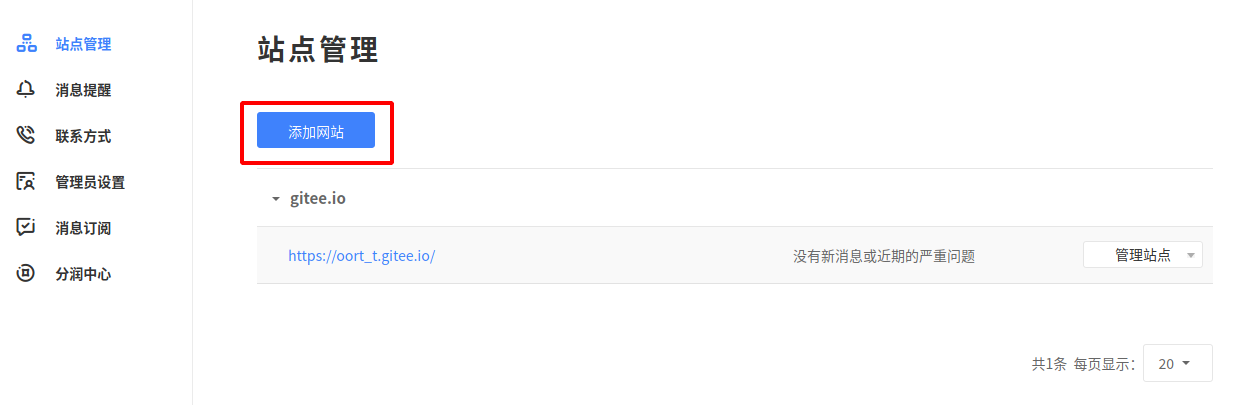
1、在百度资源平台添加网站
1、添加网站
2、验证
验证使用HTML标签验证
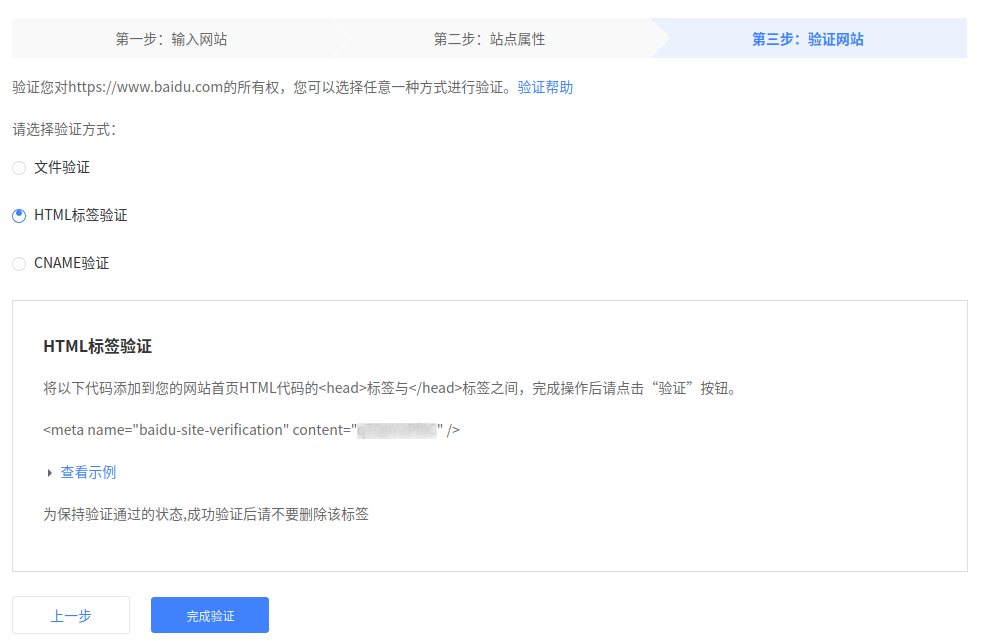
将验证标签<meta name="baidu-site-verification" content="**********" />放到./themes/next/layout/_partials/head/head.swing文件的前几行
1 | <meta charset="UTF-8"> |
完成之后发布博客来完成验证。
2、提交百度搜索
1、主动推送
安装插件npm install hexo-baidu-url-submit --save,并在_config.yml中添加配置
1 | # 百度推送 |
其中 token可以再链接提交中找到


更新_config.yml配置
1 | # Deployment |
在执行hexo d部署时就会自动推送,成功推送的标志

注意:_config.yml中的url要与平台中添加的网站一致
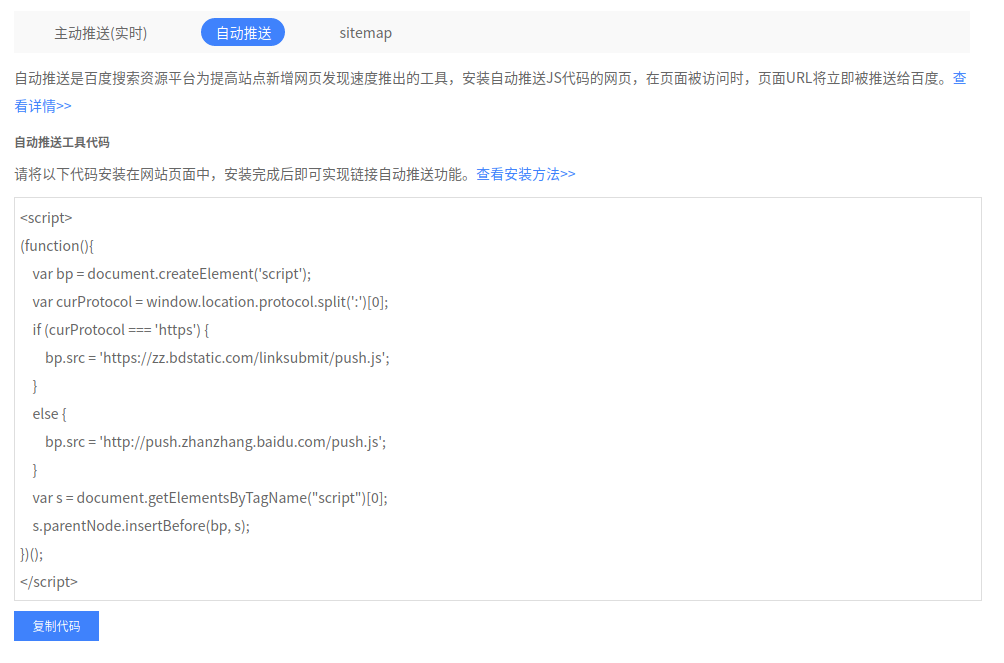
2、自动推送
将自动推送的代码放到./themes/next/layout/_third-party/baidu-push.swing文件中
1 | {%- if theme.baidu_push %} |
更新./themes/next/_config.yml配置,将baidu_push设置为true(大约在500行左右)
1 | baidu_push: true |